There are many workflows with 3D artists to create rendered images.
However, we would like to introduce the workflow at OC16 so that the client can be fully informed before starting a project.
Step 1:
-Receive information from customers, usually architectural drawings with industry-standard formats such as DWG, PDF, 3ds, OBJ, .max, Revit and Archicad files…
Attached to the above information is basic information about the project such as:
-The direction and number of camera views you want to choose
-Information about materials
-Some of your favorite images or images related to the project.


Architectural drawing with draft camera views
Step 2:
-We’ll review it and get back to you within 15 minutes or a few hours (depending on your time zone).
-This will include a quote for the project and lead time.
Step 3:
-Confirmed customer will start the project and deposit the deposit.
Step 4:
-After 5 working days, customers will receive the first draft renders.
We’ll discuss the right camera angles, materials, lighting, and whatever else you may require.


White clay camera views
Step 5:
-After 1-3 working days we will send you renderings including full materials and lighting.
-Customer will send feedback and notes for modification if necessary.

Markup example
Clearly marking and fully taking notes on what you want will help artists a lot.
It also makes the project quickly complete and get the results you want.
Step 6:
-Revision will be sent in 1-3 days.
Usually, our customers will be satisfied with the quality after the first fix. However, you have 3 free fixes if you need to fix it again.
Once you’re satisfied with the day’s render, we’ll move on to step 7.
Step 7:
-Render high-quality images, up to 4K if you require it.

Final image 4K
Step 8:
– End of project and payment.
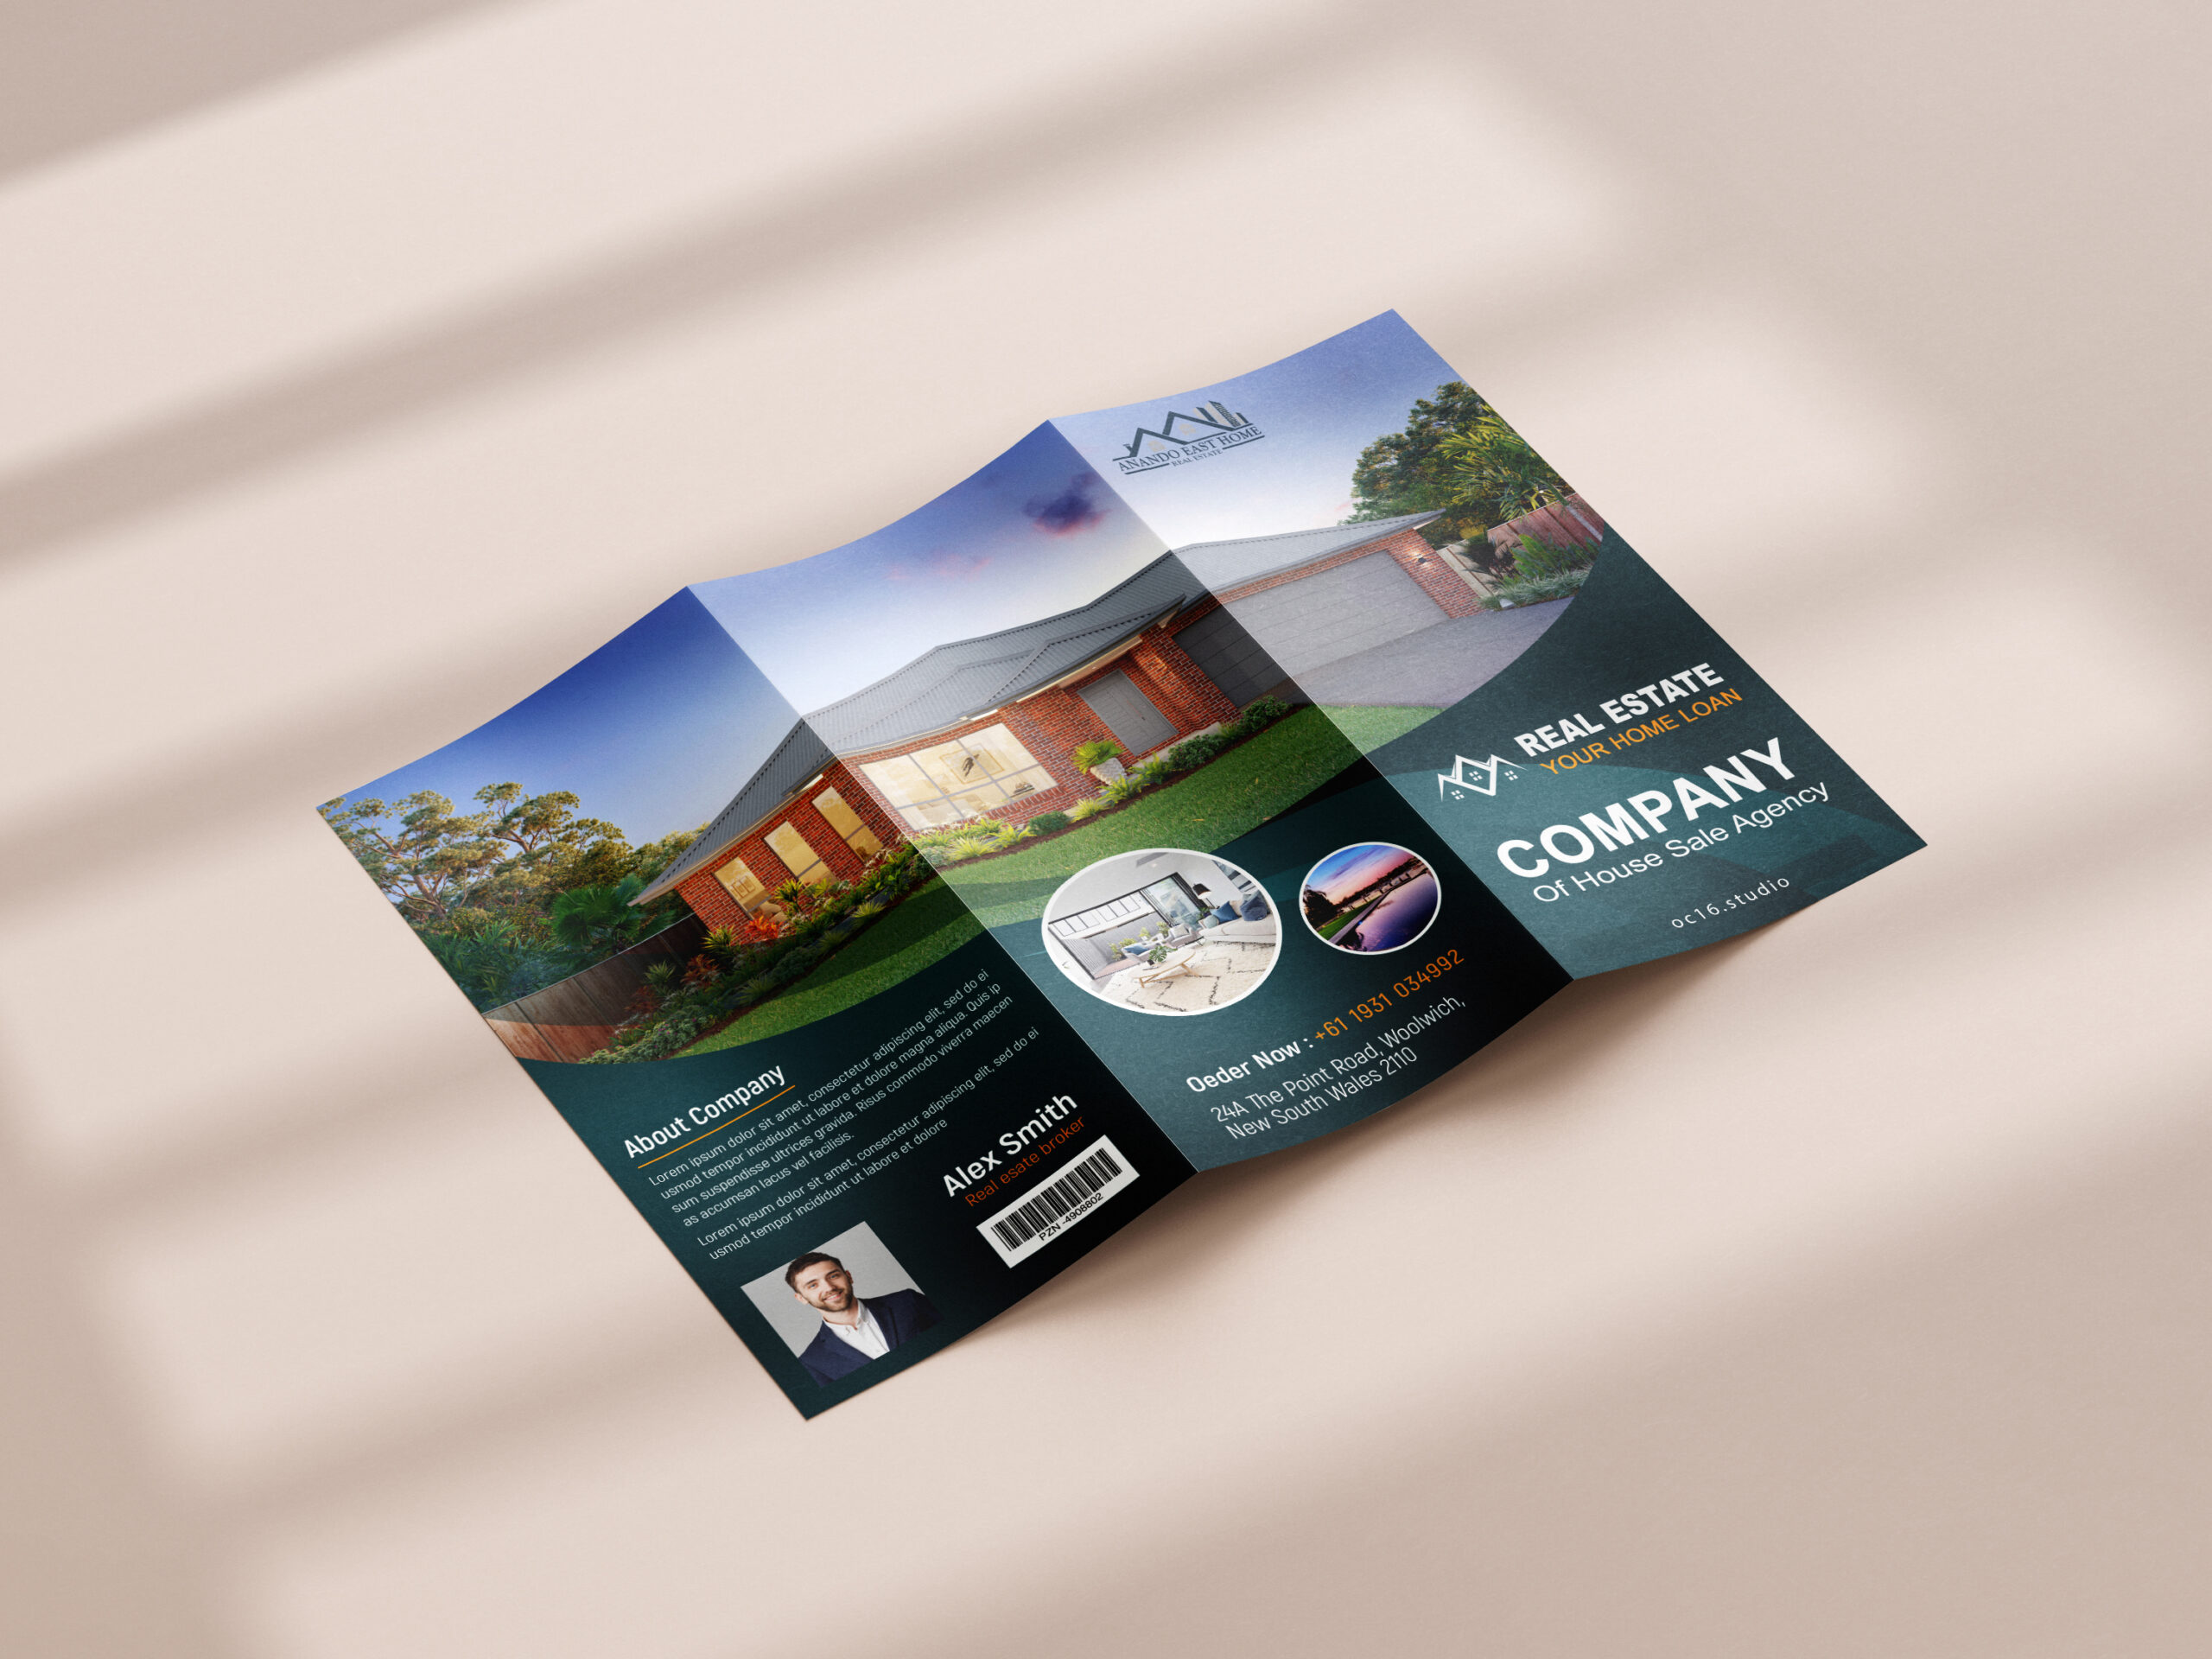
You can get a free brochure design template if you want. Start selling your property with attractive images now!


